Sue

Tinned Tuna – a burning question?

The sound of metal against metal.  The scraping continues for a good 15 minutes until every flake of tuna turns a rich, golden colour and comes away from the bottom of the pan. 

My friend Rangie is famous for one thing and one thing alone – his legendary burnt tuna dish, invented by accident on a single gas ring, in a tiny London bedsit in the swinging 60s. 

Rangie age 21, arrived in London on a rainy April day in 1960.  Sent overseas from his native Sri Lanka to study engineering in London, he soon found himself living the bedsit life with other compatriots.  Missing home cooking, a communal cook-up was planned, each one cooking a single dish.  Many Sri Lankans come from well-to-do families, where local cooks prepare freshly cooked meals every day.  So Rangie had never needed to cook before, but he had brought with him a wooden box filled with spices – so he was all set for the challenge.

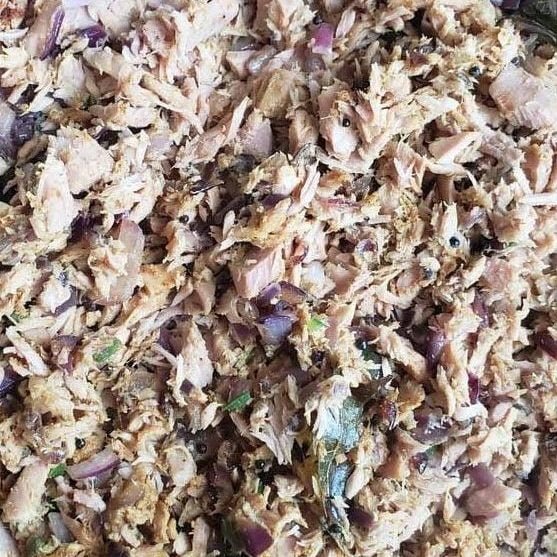
Tuna straight from the tin with mustard seeds, onions, curry leaves and chillies

Armed with two tins of tuna, Rangie fried onions with fiery green chillies, curry powder and curry leaves, then added the tuna. Turning down the heat and covering the pan, he went downstairs to chat with a housemate.  A few beers later, a knock on the door.  “Did anyone know anything about the smoke coming from the room upstairs”? ….  Rushing upstairs, lifting the lid, Rangie’s tuna had gone from a delicate pink colour to a dark brown crumbly mess.   There was nothing for it. It didn’t taste so bad and he wasn’t about to waste it.  A communal table had been set up. A large pot of pale yellow rice, chopped spinach, a steaming bowl of golden dhal, creamy cucumber raita and coconut sambal. Rangie’s burnt tuna went down a storm.

It wasn’t for another 13 years that I would taste Rangie’s burnt tuna.  Now a student in London myself, I came to know Rangie’s Swiss wife in my French class.  Most weekends it was open house at the Amitirigalas – we students were invited for Sri Lankan style dinners, seated on narrow benches at a small pine kitchen table in their Clapham North flat. The gentle crack of mustard seeds as they popped, the sweet aroma of frying curry leaves and that strangest of noises – the scraping of a metal spatula on metal working its magic on Rangie’s tuna.   

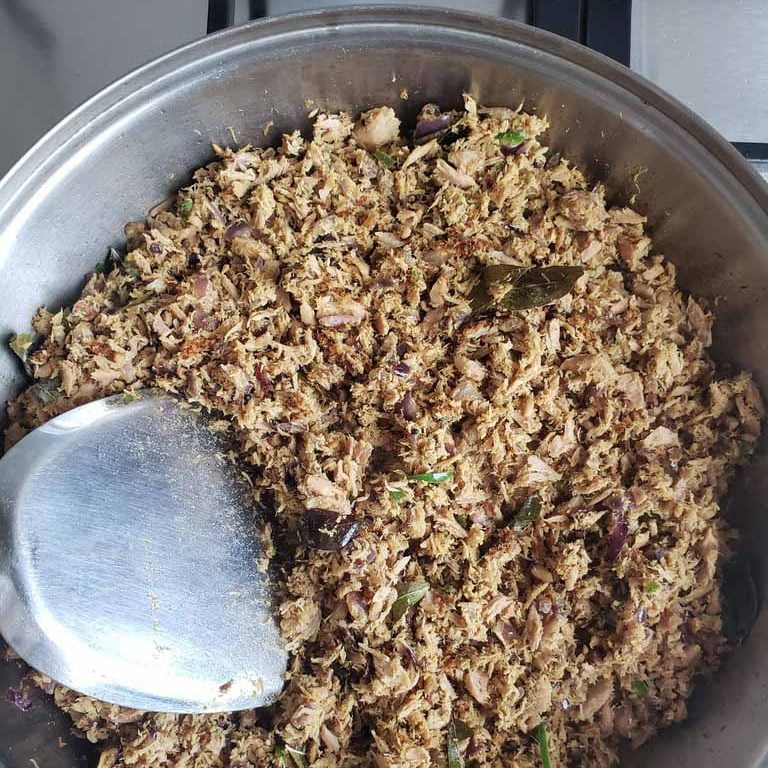
let the scraping commence …..

Back then there was no Sri Lankan food in London – it was uncharted territory and we lapped it up.  Over time, more and more friends got the “burnt tuna” bug – they cooked it, ate it, loved it and passed on the recipe to others.  Rangie’s tuna travelled far and wide to South Africa, across the ocean to Colombia, up into Canada and down as far as Australia.

What makes this dish so special? It symbolises friendship and evokes shared meals past, present and future.  There is something magical about the transformation of a ubiquitous ingredient into something utterly delicious and unexpected.  It is a tried and tested recipe which never fails to delight. It can be served hot straight from the pan or eaten at room temperature.

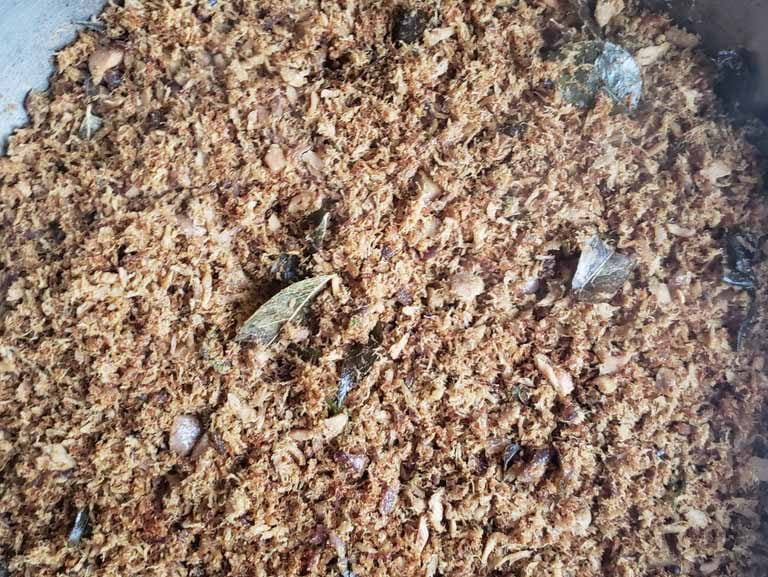
Tuna burnt to perfection

I always have a couple of tins in my store cupboard.  I’ll use it in a summery Niçoise salad or if I’m stuck for supper – a glorified sandwich-filling minus the sandwich – combining it with mayonnaise, coarsely crushed black peppercorns, sea salt and freshly squeezed lemon juice.  Burnt tuna isn’t authentic Sri Lankan cooking but who cares!  It’s a one-off with its own special provenance.

Serve it with pillowy-soft basmati rice, masoor dal, a side of sautéed spinach, a pert salad of tomato, cucumber, onions and finely chopped red chillies.  For authenticity – coconut sambal with Maldive fish.  Crack open a Lion/Kingfisher beer or two and have yourself an all-season crowd pleaser.

Serves 4 people  

Ingredients
2 tins of tuna in olive oil – reserve a little of the oil
2 medium onions, finely chopped
1-2 green chillies, finely chopped
1 tbsp black mustard seeds
2 tsp curry powder
¼ tsp chilli powder (optional)
a small handful curry leaves (dried or fresh)

Put the tuna into a medium bowl and break up with a fork. Take a heavy bottom frying pan, add the reserved olive oil and place over a medium heat.  When the oil is hot but not smoking add the mustard seeds and when they start popping add the finely chopped onions and fry until softened.  Next add the chopped green chillies, curry powder, curry leaves and chilli powder – (if you are using).  Combine well and continue to fry on a medium/low heat. Increase the heat,  add all the tuna and combine. The tuna will start to catch on the bottom of the pan at which point take a metal spatula and begin to scrape the tuna vigorously from the bottom and sides of the pan loosening it as you continue to scrape.  Don’t hurry this stage – it can take 10 – 15 mins to scrape all the tuna off the bottom of the pan.  It is done when it no longer sticks to the pan and has acquired a rich nutty brown colour.  Remove the pan from the heat and cover with a lid.  The tuna will continue to cook a little and the flavours will intensify.  Serve immediately, eat later that day or keep in a sealed container for up to a week in the fridge.

Tinned Tuna – a burning question? Read More »

Gruyère biscuits with fresh herbs

I’m a sucker for home-baked biscuits. Quick and easy to make, cheese biscuits definitely float my boat.  
Simon Hopkinson has an excellent recipe for Crisp Parmesan Biscuits in his classic Roast Chicken and other stories – a long time favourite cookbook of mine. But when I came across this recipe in a supplement produced by Fine Food Digest, I couldn’t wait to try it out. I wasn’t disappointed.  In fact I found it hard to stop eating them.

This recipe calls for Gruyère which is widely available (my local Sainsbury’s does a 200g Taste The Difference Mature Reserve Gruyere for £3.30) If you need a substitute try Emmenthal, Jarlsberg, Beaufort or Comté. Though Gruyère does have a rich creamy and slightly nutty taste and it is an excellent cooking cheese.

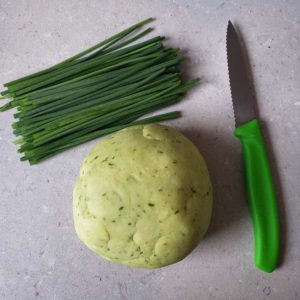
The original recipe suggests the addition of parsley but I’ve substituted chives as I have a plentiful supply in my garden from last summer which have overwintered successfully. I think the flavour combination of cheese and chives works well.  Adding fresh green herbs gives the pastry a tasteful green colour but when the biscuits are baked, they turn out a beautiful nutty brown colour.  You could use half and half parsley and chives which also works well.

Ingredients:
200g butter
200g flour
200g Gruyere cheese, finely grated
1tsp mustard powder (I use Colmans)
1tsp salt (Maldon)
1 tbsp of chives, finely chopped
Nigella seeds (optional)

Method:
Mix all the ingredients, except the nigella seeds, together in a food processor and pulse until combined. Bring the dough together, wrap in cling film or a resealable plastic bag and chill in the fridge for 30 minutes.
Preheat the oven to 200ºC or 180ºC Fan.
Roll the mixture into walnut-sized balls and place on a baking tray lined with baking parchment or a silicon baking mat (mine is a Silpat). Flatten each ball slightly with your fingertips and push about a pinch of nigella seeds into each biscuit, if using.  
The easiest way to do this is to take a small pinch of nigella seeds between thumb and forefinger and press them lightly into each flattened biscuit. Leave plenty of space between each biscuit as they will definitely spread out as they cook.

Bake the biscuits for 15 minutes, until golden brown and cooked through. Remove carefully with a palette knife and allow to cool slightly on a rack before serving. The biscuits will keep well in a sealed container for at least three days – if you are able to resist the temptation of eating rather too many while they are still warm – I couldn’t.

Makes : approx. 35 – 40 biscuits.


Gruyère biscuits with fresh herbs Read More »

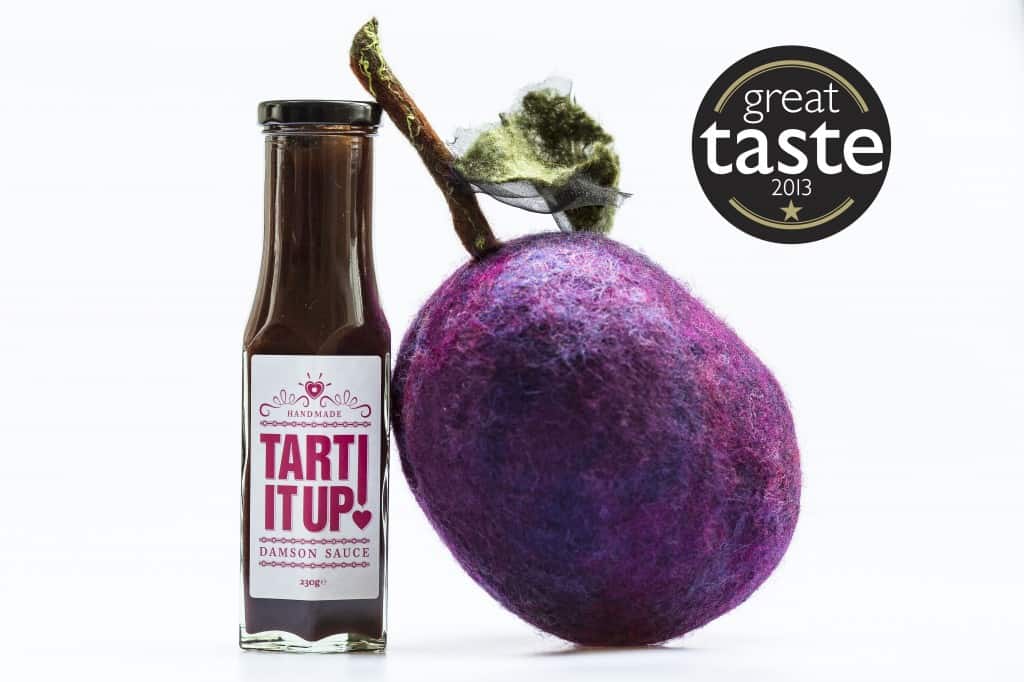
Tart It Up! Damson Sauce wins a Great Taste * Gold Star 2013


We are thrilled that  Tart It Up! Damson Sauce won a coveted Gold Star in this year’s Guild of Fine Food “Great Taste Awards” (2013).

Here’s what the judges had to say about it:  “A rich deep burgundy colour.  A good balance of sweetness and acidity, a good combination of flavours working well. A very pleasing product.

Please check out our list of stockists here.


Tart It Up! Damson Sauce wins a Great Taste * Gold Star 2013 Read More »

Tarte au citron: Lemon tart recipe

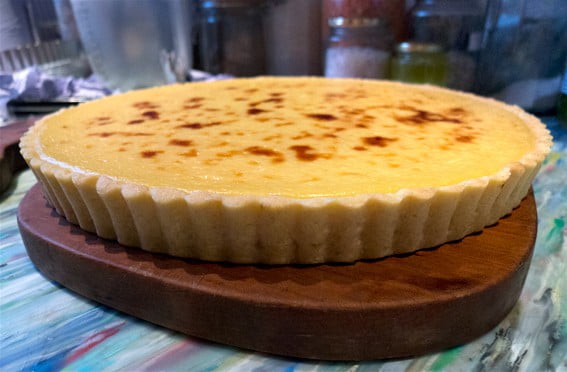
For my annual festive lunch this year,  I made a large lemon tart.  Tarte au citron definitely ranks up there as one of my all time favourite desserts.  I adore lemons and use them prodigiously in my everyday cooking….thinly sliced in salads, lemon and oil as a salad dressed, squeezed liberally into smoked trout pate, hummous or baba ganoush.  As part of a tingling morning drink mixed with orange juice.   If you can get hold of Amalfi lemons they are wonderful – try  Natoora or a specialist greengrocers.  If not try and use unwaxed lemons from a supermarket – better flavour and the zest tastes amazing!

It’s fear of pastry that puts most people off making any kind of tart.  Pastry is really not that difficult – it takes some practice and you have to follow some basic rules such as using cold butter, resting the dough in the fridge for at least an hour before using, handling the pastry as little as possible and a very particular method of putting the pastry into the tart case which I learned when I was an apprentice cook at Stevie Parle’s Dock Kitchen.  This method of blind baking does not require the faff of baking beans or suchlike.  Over the past year my pastry skills have improved so much so that I was really quite proud of the edge of the pastry.

Serves 12-14 people

FOR THE PASTRY

350g plain flour
a pinch of salt
175g unsalted butter (cold), cut into cubes
100g icing sugar
3 egg yolks

FOR THE FILLING

finely grated zest and juice of 7 lemons
350g caster sugar
6 whole eggs
9 egg yolks
300g unsalted butter, softened

Pre heat the oven to 160ºC/325ºF/Gas 4

For the sweet pastry, pulse the flour, salt and butter in a food processor until the mixture resembles coarse breadcrumbs.  Add the icing sugar followed by the eggs yolks and pulse.  The mixture will immediately leave the sides of the bowl and combine.  Spread out a 30 cm piece of cling film on a surface, remove the pastry, bringing it together with the help of the cling film and chill in the fridge for at least one hour.

Coarsely grate (yes grate!) the pastry into a 30cm (12 inch) loose bottomed fluted tin, pressing it quickly, evenly and firmly onto the sides and base.  Try not to work the pastry too much.  Put the tart shell in the freezer for 15 minutes until hard, then bake in the oven for about 15 mins or until pale brown and firm to the touch.  (NB try not to over cook the shell as it will require further baking when filled).  Let the case cool off for 15 mins while you make the filling.

Put all the ingredients except the butter in a large saucepan over a very low heat, and whisk until the eggs have broken up and the sugar has dissolved. I recommend whisking the whole eggs in a little bowl with a fork before adding to the lemon juice, zest and sugar.  It will then be easier to amalgamate the 9 eggs yolks.

Add half the butter and continue to whisk.  At this point the eggs will start to cook and the mixture should coat the back of a metal spoon.  Add the remaining butter and continue stirring until the mixture becomes very thick.  It is important to continue whisking throughout the cooking process to prevent the mixture from curdling.  Remove from the heat, place on a cold surface (this stops the cooking process) and continue to whisk until the mixture is lukewarm.

Raise the oven temperature to 230ºC/450ºF/Gas 8

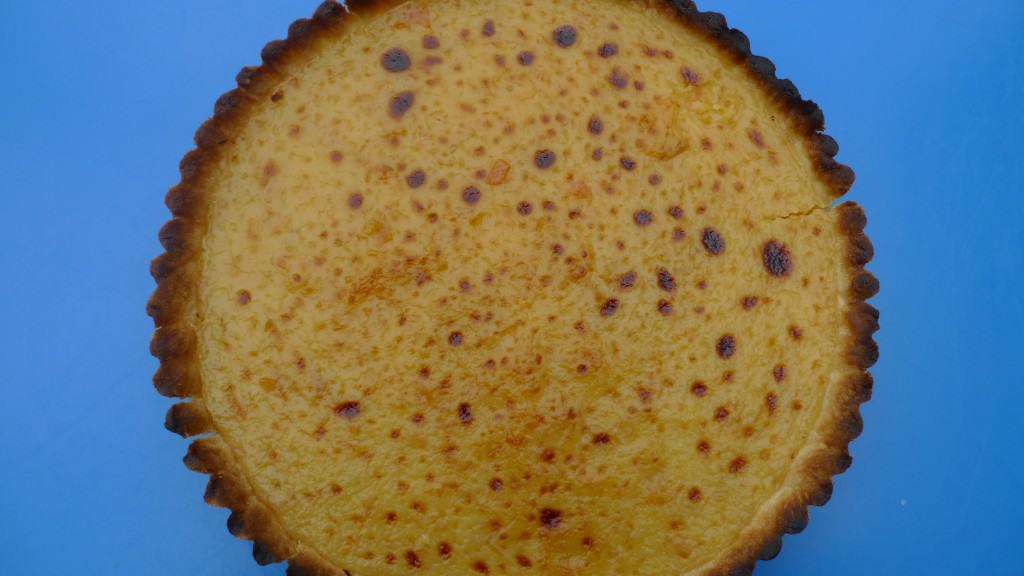
Spoon the lemon filling into the pastry case and bake until the top is brown.  This should take about 8-10 mins.  If like me, you like little brown spots on your lemon tart –  place the tart under an oven grill keeping a wary eye lest it should burn.  My grill is quite fierce so turning the tin helps an even browning. If you do find that your pastry edges are burning – cut a thin long length of foil and apply to the edge of the tart to protect it while it is under the grill.

Remove from the oven and allow it to cool before slicing.
Serve with crème fraiche or solo with an artfully placed splash of fruit couli next to each slice.

photograph: Mad Dog TV Dinners

Note:  9 egg yolks means nine lots of egg whites.  You can make coconut chocolate macaroons (David Lebovitz has a great recipe!) or financiers with the leftover egg whites. Egg whites can be also be frozen very successfully in small freezer bags though make sure to label with the number of whites before freezing.

Tarte au citron: Lemon tart recipe Read More »

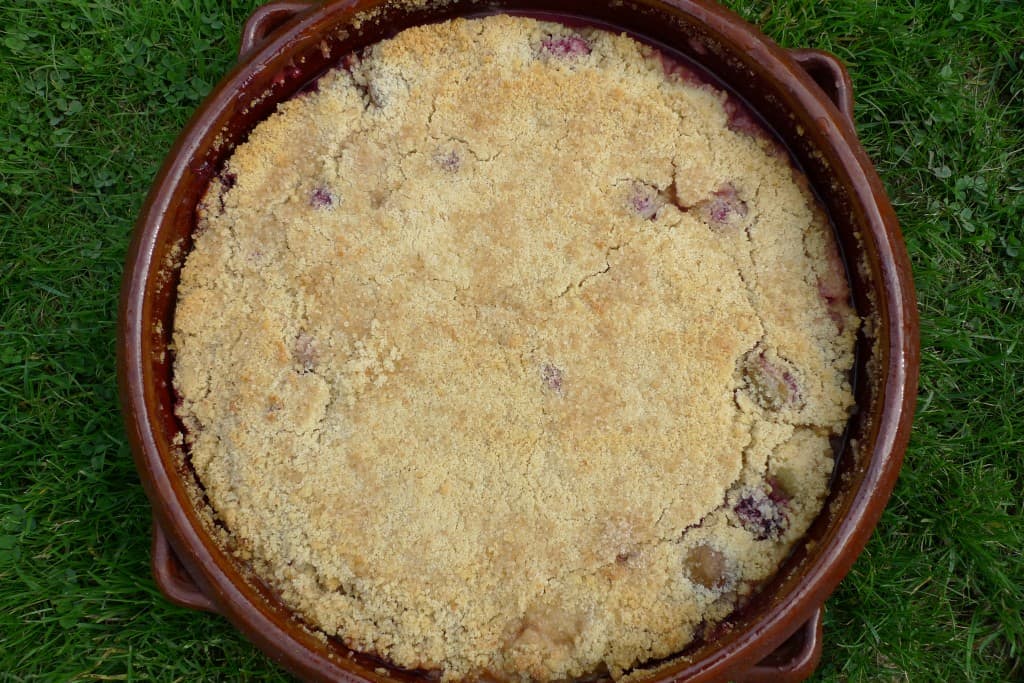
Autumn fruit crumble

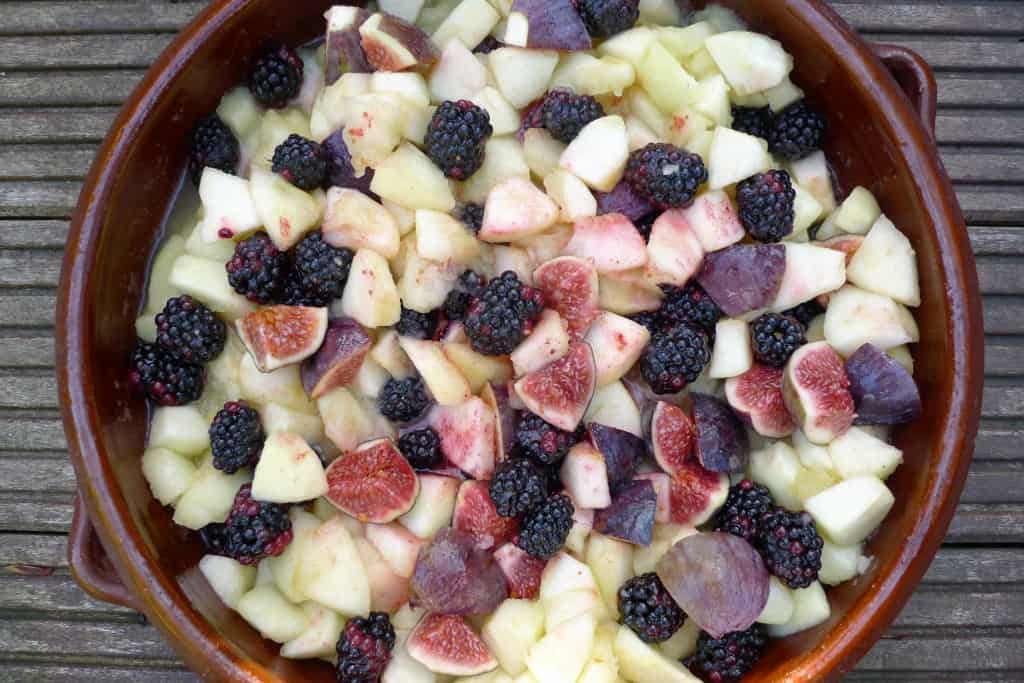
There’s nothing more comforting, as the nights draw in, than a crumble made with the last of the blackberries combined with Turkish figs and this season’s bramley apples.

You can be inventive with your fruit combinations.  I just happened to have some fresh figs.  The week before I used redcurrants in place of the figs but alas, they are not to be found.  I use ground almonds in the topping as they are readily available but if you can find ground hazelnuts (a rareity these days) or best of all, whole hazelnuts  –  grind them in a processor and mix in with the topping.  I buy my hazelnuts from Natoora who supply restaurants but are happy to take retail orders online.

This recipe serves 4 and I trebled the ingredients as I was making it for a 12 people.

Ingredients
a good knob of butter
3 large Bramley apples, peeled, cored and chopped
75g caster sugar
150g blackberries or any other wild berries, blueberries or elder berries.
2 figs cut into pieces
zest of a lemon

Toppping:  
40g cold unsalted butter, cut into cubes
30g ground almonds or hazelnuts
60g sugar
80 g plain flour
good handful of rolled oats

cream, creme fraiche, vanilla ice cream or plain yogourt, to serve

Preheat the oven to 190 C/375 F/gas 5.  For the filling, melt the knob of butter in a wide pan, add the apples and sugar and cook for 6-8 minutes, stirring ocassionally, until the apples begin to break down, but are not too soft.

Take off the heat and stir in the blackberries and figs, then add the lemon zest. Put all the filling into a medium size ovenproof pie dish or individual dishes if you prefer.

For the topping, mix the unsalted butter, almonds, sugar, plain flour in a food processor, or rub between your fingers – the purist way –  until it looks like breadcrumbs.  Finally mix in the rolled or porridge oats which give the topping some texture.

Sprinkle the crumble topping over the filling and bake in the middle of the oven for 3o – 40 minutes or until the top is golden brown.  Serve it with cream, creme fraiche, vanilla ice cream or plain yogourt.  I served mine with Tim’s Dairy Greek style natural yogourt.  It’s lovely and thick and goes a treat with crumble.

Autumn fruit crumble Read More »

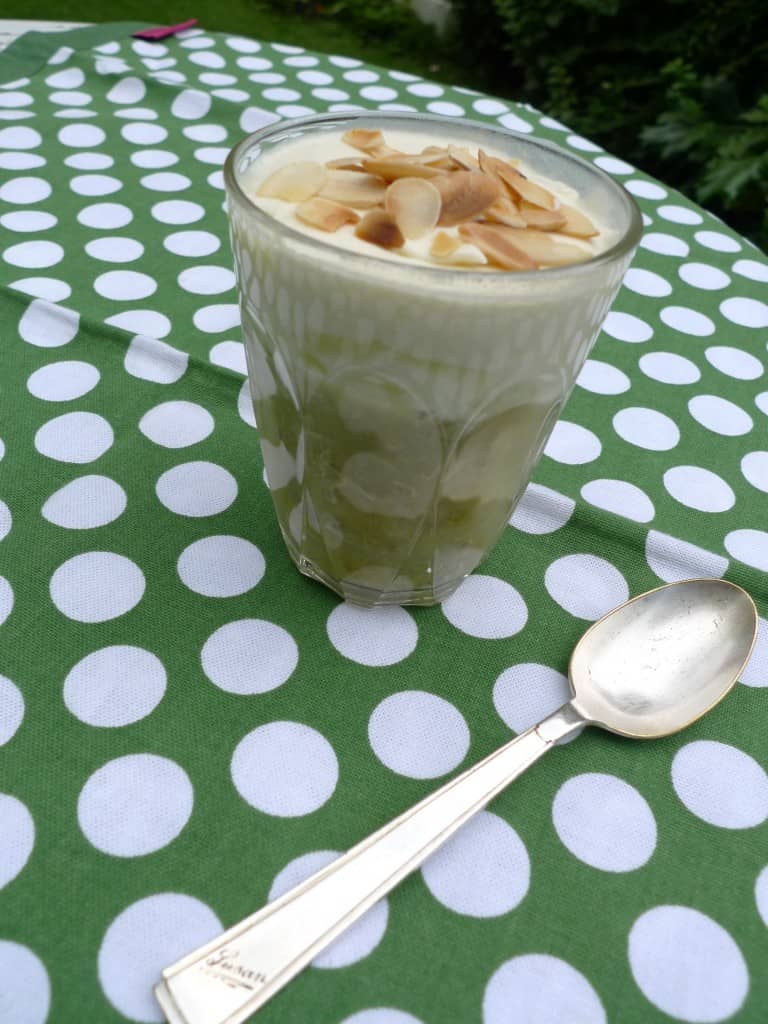
Gooseberry and Elderflower Syllabub

I love tart English fruit.  Rhubarb, Redcurrants, Damsons and through the summer when most of our summer berries are red – along come gooseberries. Lovely pale green, sometimes golden or red flecked,  hairy  goosegogs appear in our shops in from June to August. Evocative of 50s childhood puddings and making a comeback – gooseberry fool, crumble, pie, tart and not forgetting   gooseberry jam and jelly.  Gooseberry Sauce was traditionally eaten with mackerel and other oily fish.   There is still an annual Gooseberry Show at Egton Bridge in North Yorkshire on the first Tuesday in August where the grower with the largest gooseberry wins.

I found this delightful recipe on James Ramsden’s Small Adventures in Cooking site.  Guest posted by Evie of saffron-strands.blogspot.com. I’ve adapted it and reduced the amount of sugar as I prefer a slighter tarter tasting  syllabub.  Gooseberries are really easy to prepare and require very little cooking.  The base for most gooseberry dishes call for the fruit to be stewed and sweetened according to the sharpness of the fruit.

Ingredients
100ml Sauternes or Muscat wine
finely grated zest of a lime
35g caster sugar
300ml double cream
600g gooseberries
80-100g caster sugar, adjust according to taste
2 tbsp elderflower cordial, homemade or shop bought is fine
50g blanched almonds, lightly toasted in the oven

Mix the first three ingredients together in a small bowl and allow to stand for a couple of hours or overnight so that the flavours are well blended.

Wash and top and tail the gooseberries.  Slowly dissolve 80 -100g caster sugar together with the elderflower cordial in a heavy bottomed pan.  Add the gooseberries and cook gently until the fruit is soft but not collapsed – approx 10/15 mins.  Leave to cool completely then place in the fridge.

Whip the double cream until at very soft peak stage and then slowly mix in the sweet wine, lime zest and sugar mixture until it is all incorporated – take care not to over beat the cream mixture!  If it seems too loose don’t fret as it will stiffen once it is chilled.  Spoon the gooseberry mixture into individual serving glasses, half filling the glass and top with the syllabub.  Refrigerate for at least 2 hours – it will keep in the fridge for at least 24 hrs and when ready to serve, finish off by sprinkling with the toasted almonds.  Watch it disappear!

Serves 4-6 depending on the size of glass used.

More gooseberry recipes and further reading for gooseberry fans:

Jane Grigson’s classic Fruit Book – (Penguin Cookery Library)  beautifully written section about the gooseberry with some traditional recipes.
Hugh Fearnley-Whittingstall’s Gooseberry Recipe’s from The Guardian’s Life&Style
RHS Grow your Own Gooseberries: Essential information for those wanting to grow their own gooseberries.

Gooseberry and Elderflower Syllabub Read More »