Sue

Tarte Tatin

This delicious pastry made with apples established the reputation of the Tatin sisters who ran a hotel in the Loire Valley in 1898.  According to tradition the sister who did the cooking, Stephanie, was making a traditional apple pie and  over-cooked the apples.  She rescued the dish by putting a pastry cover on top of the apples and quickly finishing it off in the oven. She inverted the cooked tart onto a plate and to her delight the hotel guests loved it.  According to tradition the dish became so popular that the owner of Maxim’s in Paris sent down spies to discover the secret recipe.

The other day my friend Laurent, former pastry chef turned yoga teacher (yogalaurent), came over to make tarte tatin with me.  A few days before he’d texted me a list of ingredients reminding me to get firm dessert apples (eg Braeburn, Jonagold) which would hold their shape and not turn to mush!  He also checked that I had a heavy ovenproof frying pan.  On a recent day trip to Paris, I bought two different sized black iron pans which were perfect for tarte tatin.  Black iron pans are used all the time in restaurants –  you can start a dish on the stove and  put the pan staight into a very hot oven to finish it off.  I love mine but you do have to temper them before use and always smear a little oil over the surface after cleaning them or they’ll end up rusty!!

As we had limited time, we used a good quality buttery ready-made puff pastry.  Working together we decided to use two pans and divide the recipe according to the size of each pan.  The larger pan held 7/8 apples, the smaller pan took 5/6 apples.  Whatever size pan you use, you will need to pack the apples together so that they fit together snuggly. Shoulder to Shoulder….

Tarte Tatin Recipe
8 Braeburn apples
1/2 packet puff pastry
2/3 tbsp caster sugar
50g unsalted butter
1/2 small orange, zest grated plus juice
1/2 lemon, zest grated plus juice
1/4 tsp vanilla extract

Core and peel all the apples and cut into half lengthways.

As we were using two different sized black iron pans – the smaller pan had 5 apples, so 10 halves and the larger pan had 7 apples or 14 halves.  The next stage was the caramelisation which can take about 10/15 mins.  We added some good knobs of butter into the apple filled pan and turned the heat to medium/high.  Then we added 2 or 3 tablespoons of sugar and allowed the apples to take on a lovely golden colour as they started to caramelize.  At this point we added a couple of teaspoons of the lemon/orange zest/juice mixture.   You may well need to add more butter as it gets absorbed.  You will need to hover over the pan with a fork and turn all the apples frequently making sure they get that all over golden tan.

Get your puff pastry and flour your surface well and roll each piece out to a rectangle of about 3mm depth and wide enough to cover your pan plus extra to fold under the apples. (Handy tip: I don’t wash my wooden rolling pin.  If you just scrape off whatever adheres to it with the back of the knife – it will last forever.

Laurent pointed out politely that working with pastry benefits from a cold smooth surface and a piece of granite in lieu of an expensive kitchen surface makeover.  (Note to myself check out my nearest reclamation yard!).

The next stage is a bit like tucking a blanket under the edges of a baby’s cot.  Carefully tuck the pastry underneath the apples making sure you go all round the pan leaving no gaps.  You may need to trim bits off here and there and use them to patch the gaps where there isn’t enough pastry to tuck underneath.


When you’re happy that your apples are cosily tucked up in their pastry blanket, lightly prick the pastry all over with a fork, being careful not to pierce through the pastry.  The tarte is now ready to go into a hot oven (at least 200 degrees C) and bake until the pastry is a light golden colour.  Approx 20 mins but definitely check it after 15 mins as temperatures do vary from oven to oven.

When your tart is cooked get it out of the oven with an oven glove, hold your pan firmly by its handle in one hand and get your serving plate as close as you can to the pan and with one swift manoeuvre invert the tarte onto your plate.  Re-arrange the apples if they have became dislodged in the inverting process.   Tarte Tatin is best eaten warm served with crème fraiche or vanilla ice cream.

If you’d like to learn how to make Tarte Tatin, White Chocolate Mousse or Pear and Hazelnut Tart, you can sign up today for one of my Art of Pudding classes starting again in September.  If you book for any of my classes before 31st August 2011, you can save £20 per person off the normal cost of a class (£70).  Cost: £50 per person!!!

Tarte Tatin Read More »

Pudding of the Month: July 2011


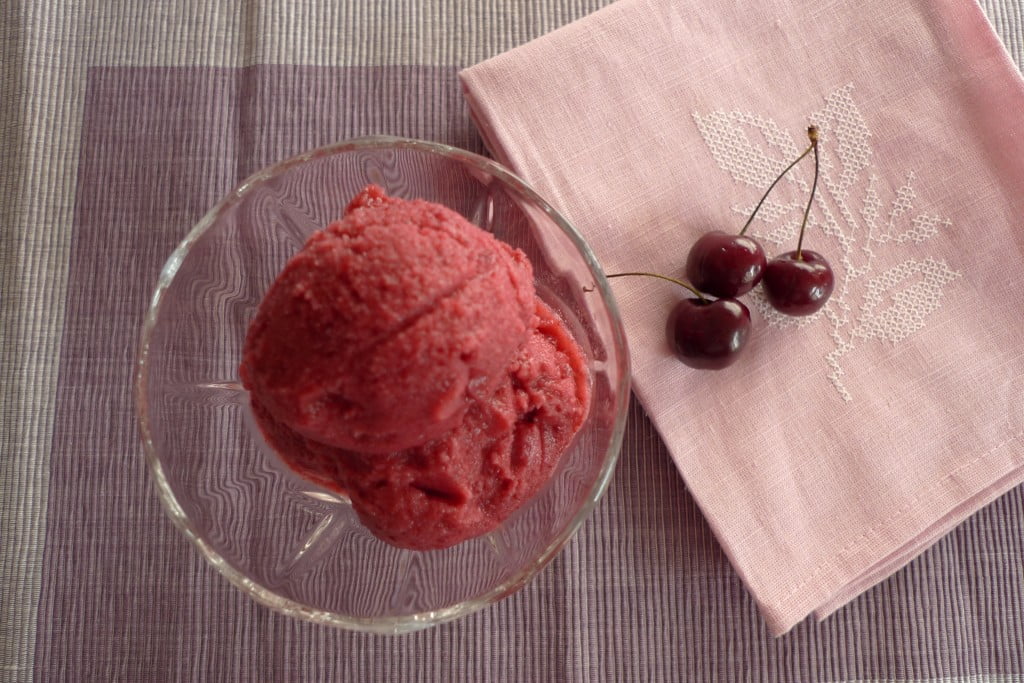
Easy Cherry Sorbet

My local farmers market has a stall selling nothing but Kent cherries for £5 a kilo so this month I’ve been trying out recipes featuring cherries.

I’ve adapted this one from a recipe by David Lebovitz  whose blog and books I’m a great fan of.  I’m always on the look out for ice cream and sorbet recipes which genuinely work without an ice cream churner as I don’t own one (as yet!) – and this one fits the bill.  It’s simple to make and delicious.

675g/1 ½ lbs sweet cherries, pitted

100 g sugar

250 ml water

1 tablespoon lemon juice

a few drops almond essence

1 tablespoon of kirsch (optional)

In a large saucepan combine the cherries, sugar, water and lemon juice and cook for about 10 mins, stirring occasionally until the cherries have softened and released their juices.  Remove from the heat and add the almond extract and kirsch, if using.  Set aside to cool completely.

Decant the cherries and their syrup into a shallow container, cover and freeze until firm, at least 2hrs.

Once the cherry mixture has frozen completely, take it out of the freezer, break it up, and process it in a food processor fitted with the metal blade until completely smooth.   Serve immediately.

Pudding of the Month: July 2011 Read More »

“Mastering the sweet things in life”

Art of Puddings is featured on the home page of a fabulous new UK wide listings site – This is Your Kingdom.  “An Insider’s Guide to Lovely Things to see and do in the UK.”

Loads of great stuff to see, do and take part in.  You can nominate your own little secrets…if you can bare to share them, that is.

Many thanks to Amanda Collins from saveyoursole for recommending Art of Puddings.

“Mastering the sweet things in life” Read More »

Adventures with Jam and Jelly


Westmoreland Damsons from Cumbria
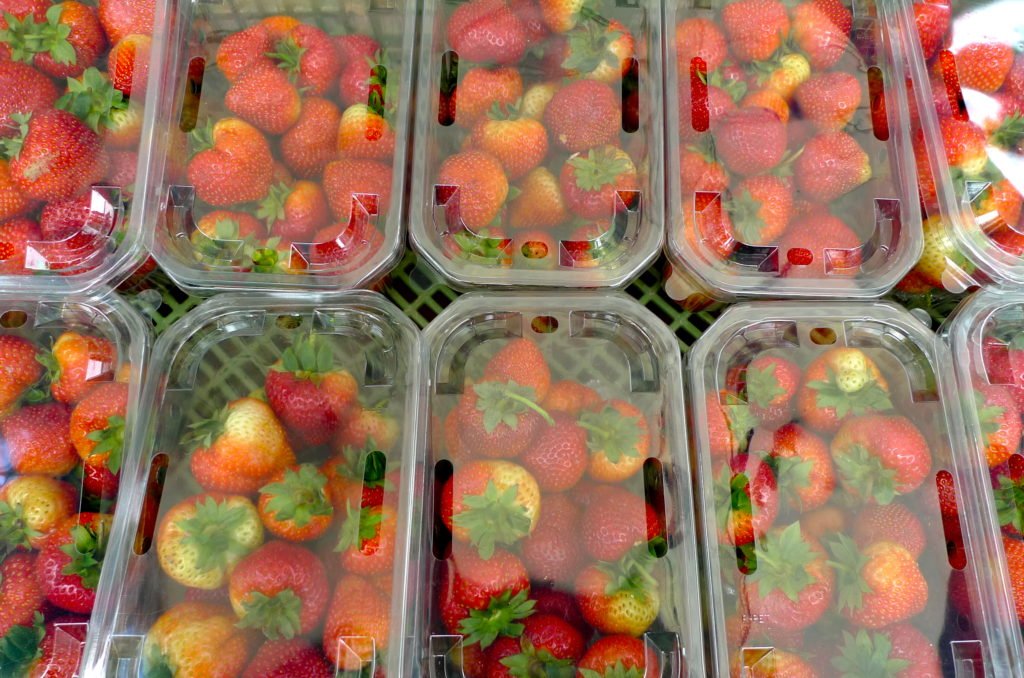
Strawberries grown nr Colchester, Essex

Of the many culinary activities I enjoyed as a child, I have no memory of making jam at home. We always had a plentiful crop of soft fruit in our garden every summer – raspberries and gooseberries.  The raspberries would be eaten on their own with sugar and vanilla ice cream and the gooseberries would be transformed into a magnificent fruit fool served in a heavy cut glass bowl.  Like many other families in the 60s my first experience of jam was Roberston’s.

I remember my mother cutting open shop bought jam doughnuts, scraping out the lurid pink runny stuff inside them and replacing it with a generous dollop of Robertson’s strawberry jam.

So making jams and jellies is a journey of discovery on which I’ve happily embarked.  Aided and abetted by my jam making friends, the internet and my jam making bible “The Basic Basics – Jams, Preserves and Chutneys” by Marguerite Patten, I’m slowly but surely extending my repertoire.   From a humble home-produced Grape Jelly (courtesy of my neighbours’ grape vine) to plum, damson and gooseberry jams and more recently, an all time favourite, Redcurrant Jelly.

Last week I got a good deal on twelve punnets of redcurrants.   I adore home-made redcurrant jelly.  I find the commercially available ones  way too sweet, masking the lovely tart flavour of the translucent red berries.  Redcurrant Jelly is really very easy to make.

Redcurrant jelly on pain de mie

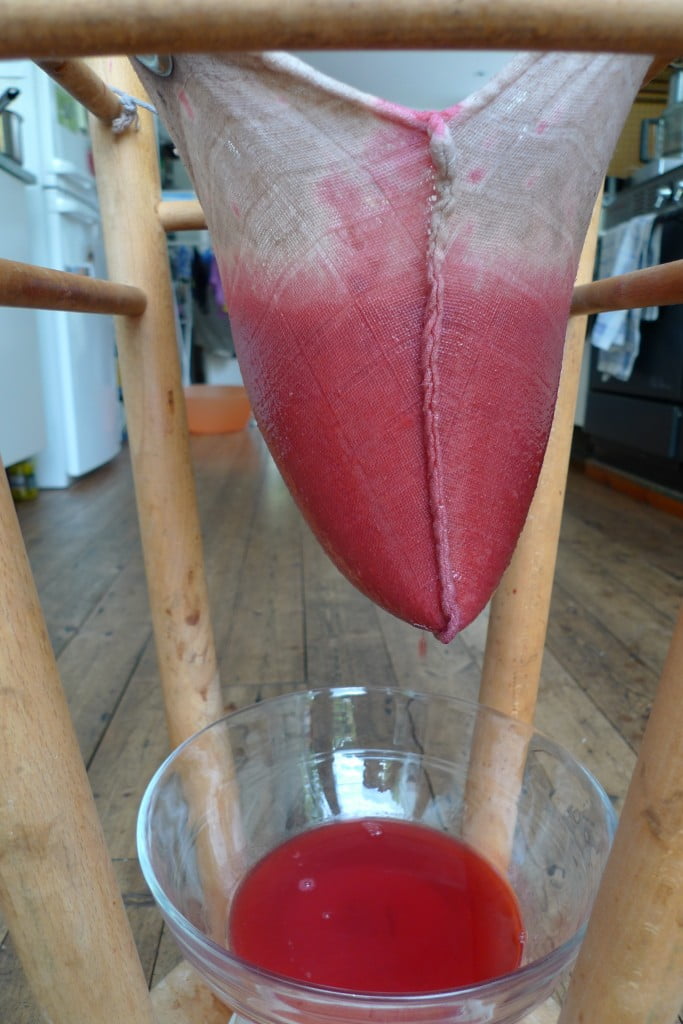
 The joy of making jelly is that the fruit preparation is quick and simple.  Keeping the stalks on and even the odd leaf, slowly simmer the redcurrants until they’re really soft.  You can add some water if your redcurrants aren’t very ripe and then just plop the lot (stalks and all) into a sterilised jelly bag suspended over a large bowl and leave it to drip over night.   The following morning you should have a good quantity of ruby red liquid.  If you want a beautiful clear jelly, do resist the temptation to squeeze the last drops out of your jelly bag.  If you’re not bothered about producing a cloudy redcurrant jelly then go right ahead.

Jelly bag with redcurrants

I have discovered that jelly sets much faster than jam and if you’re not careful your jelly will start setting in the pan if you are not quick enough to pot them into their jars. After measuring the redcurrant liquid in my bowl, I warmed my redcurrant liquid on a low heat adding the sugar until it was all dissolved.  I reduced the sugar content a fair bit as I prefer a tarter tasting jelly.  After a fast boil my jelly reached setting point within 8-10 mins and after a quick skim, was ready to be potted into hot, sterilised jars.  Redcurrant jelly is equally delicious on freshly baked bread and butter and its tangy flavour perfectly offsets the richness of roast meats or game.

In my early days of making jam, I made many batches which simply had to be thrown away either because I’d over boiled the fruit and sugar resulting in a solid mass of caramelized brown toffee or at the opposite end of the scale, my jammy mixture would refuse to set and I’d be left with jars of sloppy unset jam.

I’ve definitely learned from my mistakes.  I’ve shared with other jam makers, read jam making blogs and have simply made a lot more jam over the years.  I’ve learned that it is better to make a few small batches of jam than one large one.  Cooking time is reduced which preserves more of the fruits flavour and in case it does goes wrong, you waste less of your precious fruit.

In June, with the early appearance of strawberries at the end of May, I set about making my first strawberry jam.  Armed with my recently purchased preserving pan (JamJarShop),  jam thermometer and strawberries, I set to work.

All went smoothly until I tried to get the jam to set. After hard boiling and trying all three jam setting tests – The Wrinkle, The Flake and The Temperature test.  My jam would still not set!!

I know I’m not alone here – strawberry jam is notoriously tricky. Strawberries are low in pectin.   I took immediate action,  googled and found advice recommending the addition of rhubarb (high in pectin) to solve my jam setting problem.  I happened to have a small quantity of stewed rhubarb in my fridge so tipped the lot into my pan and tried again.  Reader……it worked like a dream. The rhubarb didn’t overpower the taste of the strawberries and it broke down quickly and disappeared into the jam. I now have 10 lovely jars of strawberry and rhubarb jam.

I love this time of year when there is such an abundance of produce and I can make something different every day.  I’m off to make my next batch right now.   Happy Jamming.

Adventures with Jam and Jelly Read More »

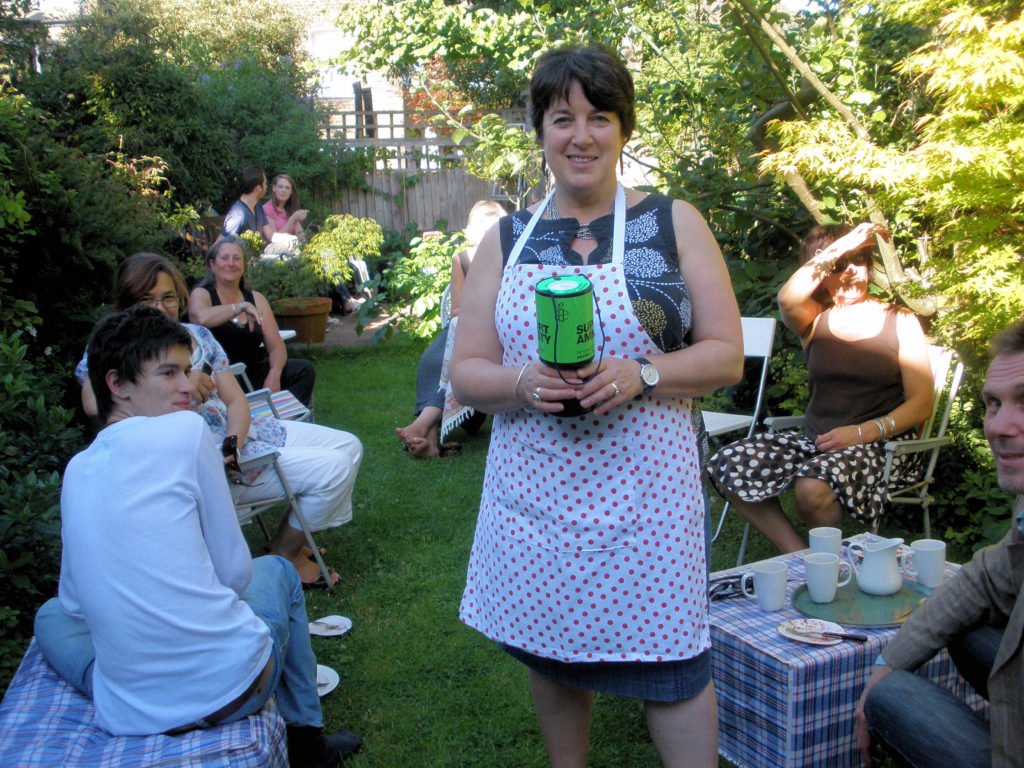
AmnesTEA “Flaming June” Fundraiser 25th June

To celebrate Amnesty International’s 50th birthday this summer, the charity picked up on the “baking” zeitgeist and came up with its own take – AmnesTEA – an off the peg, fundraising event to raise money for human rights.  Although I’m not a member of Amnesty,  my teenage son is and was happy to help me with some of the setting up before hand.  I’d been to a couple of other cake events (via Clandestine Cake Club) and had enjoyed them so this was an opportunity to hold one of my own – invite guests and ask everyone to make a donation of at least £5 to Amnesty International.

Any excuse to get the best tablecloth out, bake a cake, make some fancy biscuits and invite my neighbours and friends to come over.  I prayed for good weather following days of very persistent rain.   We were not to be disappointed.  Once the morning rain had dried up, we had a hot, sunny day on which to enjoy our tea and cakes.

Give us your money!

We had a brilliant jazz pianist in the form of Toby Nelms – a  student  at the Royal College of Music.  His extensive repertoire was impressive and made the event feel quite special. The following weekend he got a  booking to play at Clarence House.  Not bad!!

Toby Nelms playing smooth jazz and posing for photographs!
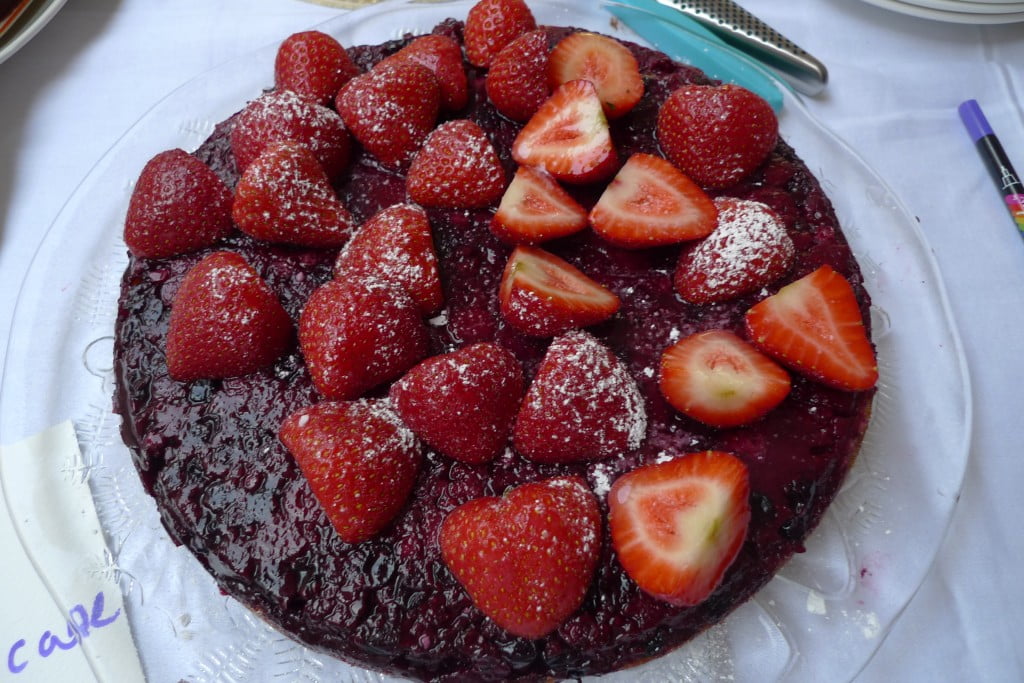
Mars’ summer fruit upside down cake
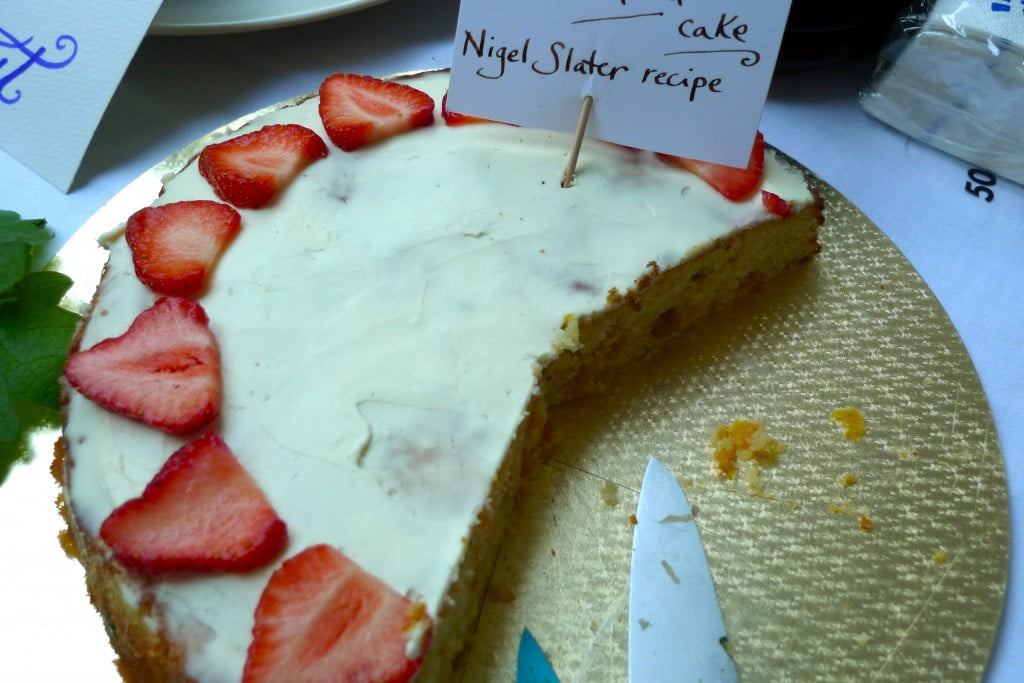
Lucy’s friend’s Apricot and Almond cake (Nigel Slater recipe)
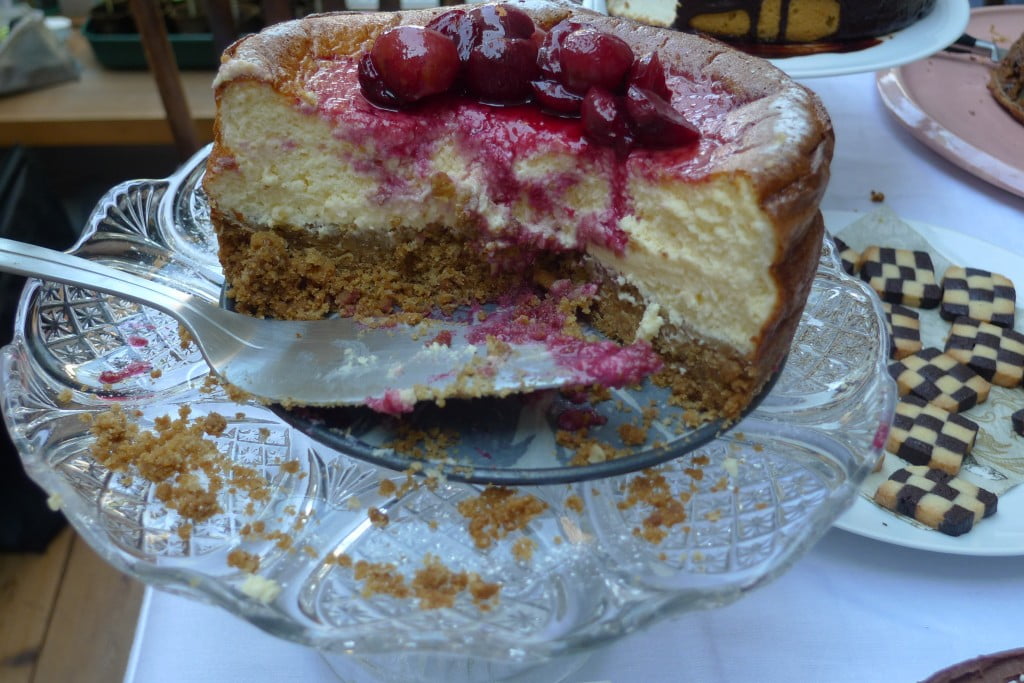
My New York cheesecake topped with cherries
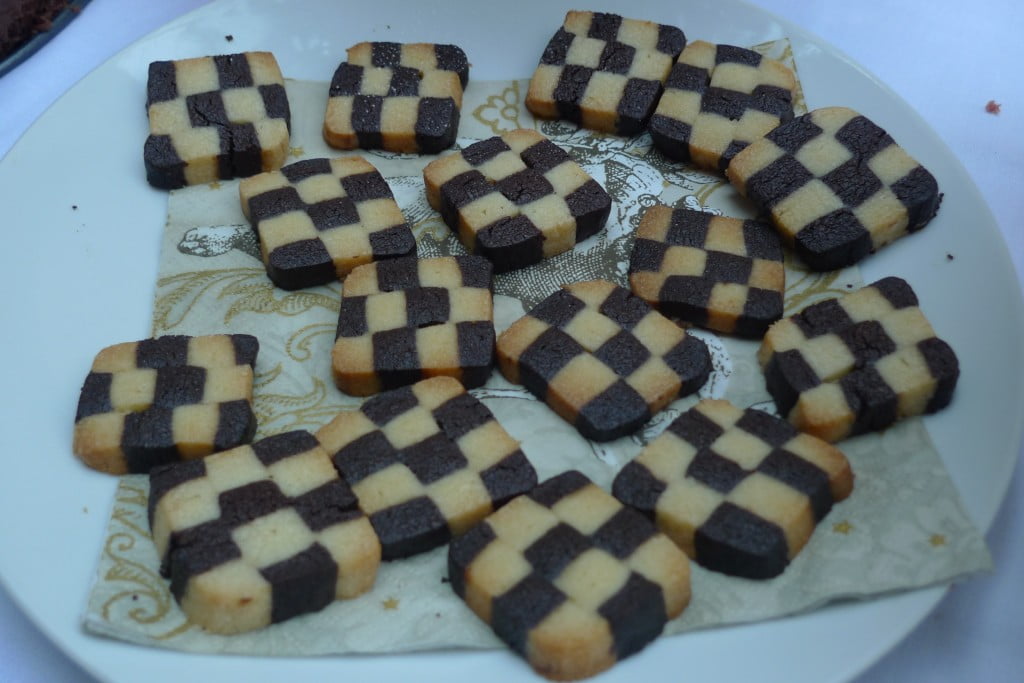
Chequerboard cookies
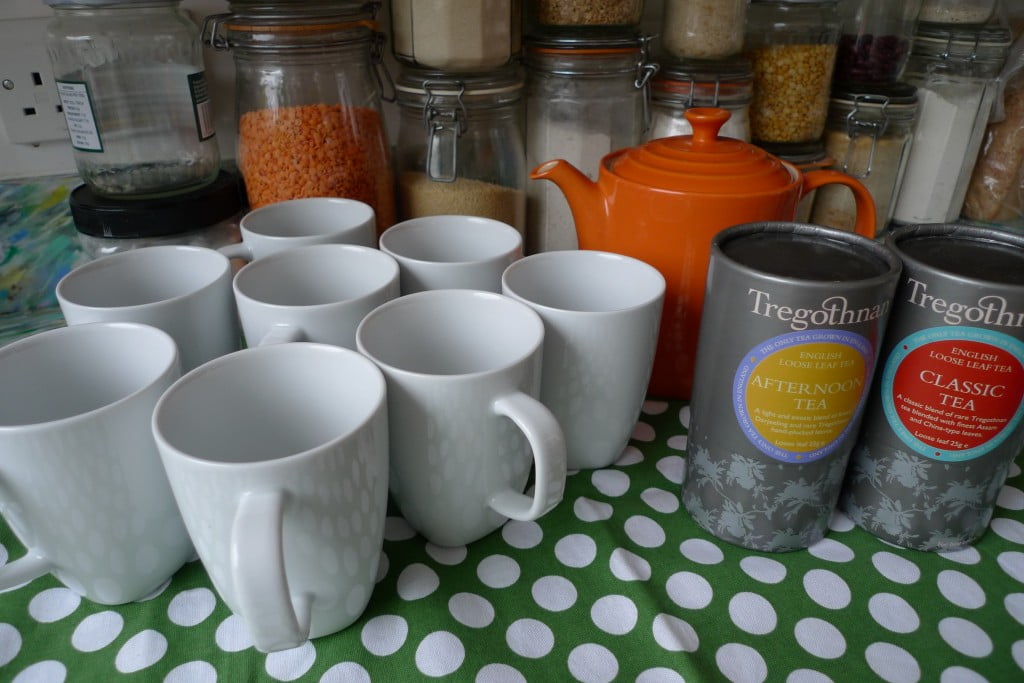
Tregothnan Tea, the only English tea produced in the UK

I must have made at least 25 cups of tea on the day.  I’d bought Tregothnan tea as I wanted give my guests a special treat.  The first few cups I produced were frankly undrinkable with people politely asking could they have builders tea please.   I quickly realised that the best way of drinking this ‘special’ tea was in fact without milk.  I recovered my composure and from then on in, the Tregothnan Afternoon Tea went down a treat with my guests.  Their Afternoon Tea is a blend of hand-plucked leaves and imported Darjeeling.  It has a delicate refreshing  taste with a citrusy note.  I’ve never visited The Tregothnan Tea Estates in Cornwall but hope to one day.

Willy Smax’s second helping or even his third?

Marilyn’s scrummy Chocolate & Clementine cake

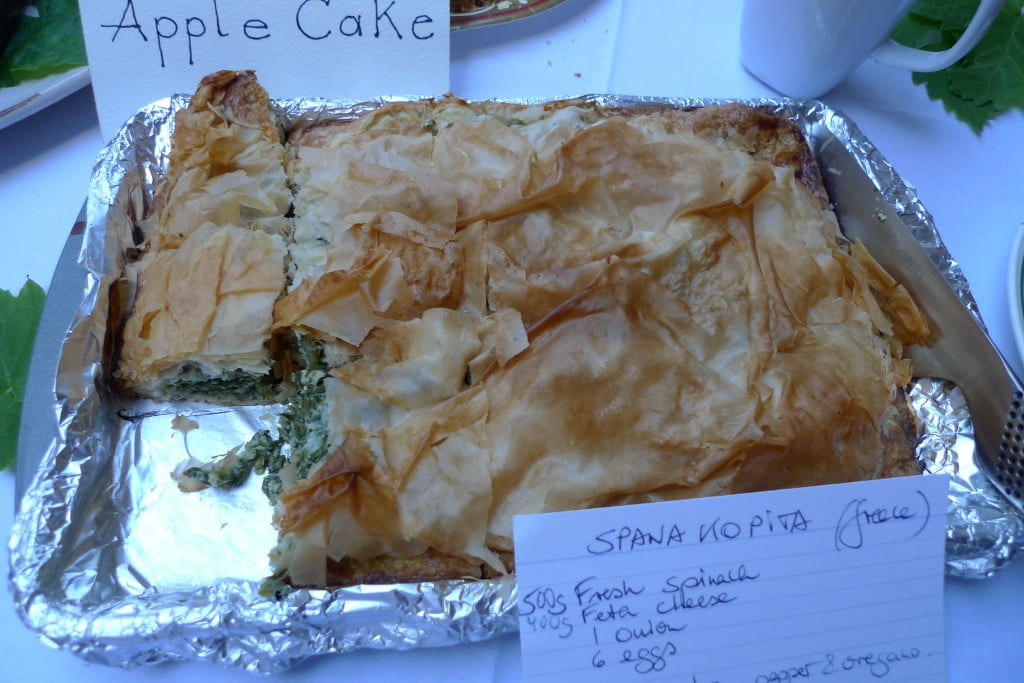
Monika’s tasty,  savoury Spanakopita disappeared really quickly

Shirley Booth’s Mizu Yokan (sweet bean jelly) made with red bean paste, agar and sugar….different!

Nick’s ‘own recipe’ rhubarb and ginger cake – the rhubarb was home grown and flavoursome

Cutting Monika’s “Spanakopita” required some serious concentration….

One more cup of tea before and then another slice of cake perhaps…..


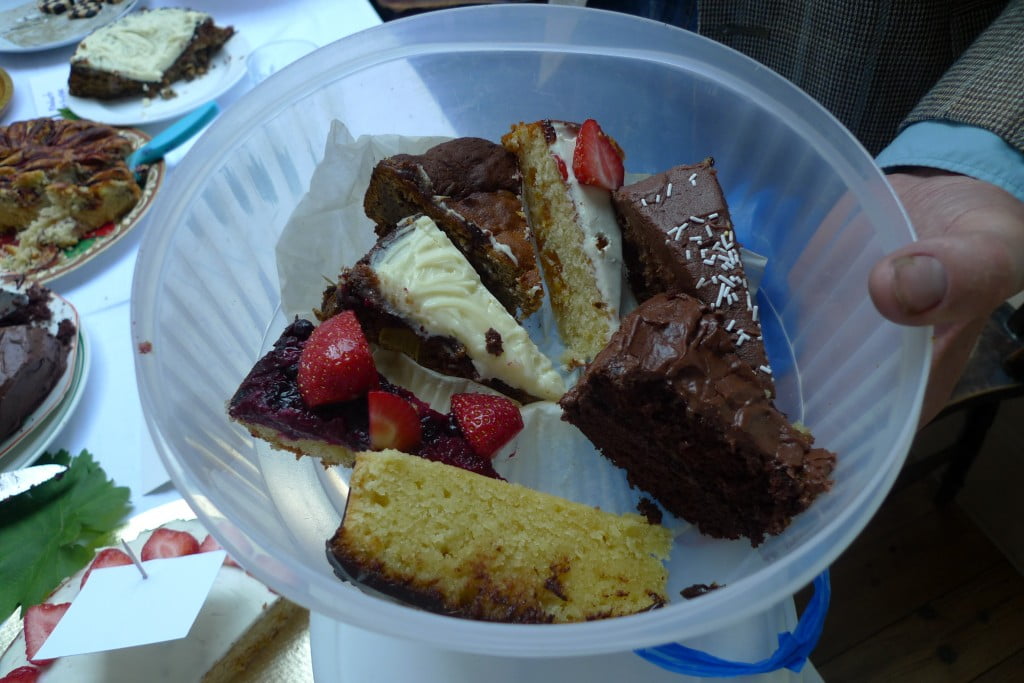
We raised £110 and even after everyone had taken the leftover cake home, we still had loads of lovely cake left.  (Note to myself for next time, invite a lot more non-bakers and maybe auction off cakes to the highest bidder!!)   As we were expecting a house guest the following day – I didn’t have to worry about making any desserts for the next two weeks!!!  Cake keeps remarkably well and can be served again with the addition of summer fruit, crème anglaise or just as it comes.

lovely cakes to go…..Willy’s tupperware

AmnesTEA “Flaming June” Fundraiser 25th June Read More »

Pudding of the Month: June 2011

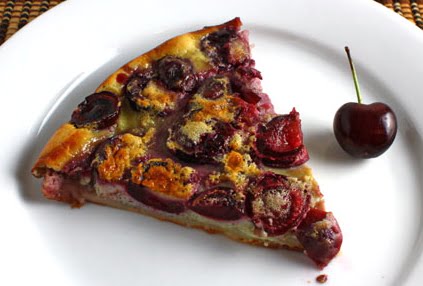
Cherry  Clafoutis

Clafoutis or cherry flan is traditional in the Limousin during the cherry season.  It’s basically peasant cooking for family meals and a very easy dessert to make – a pancake batter poured over fruit in an fireproof dish, then baked in the oven.  Don’t stone the cherries as they give the dish a wonderful flavour.   You can substitute cherries for plums, prunes, pears, peaches or blackberries.

Serves 4-6

80g plain flour

a pinch of salt

200ml milk

2 large eggs, beaten

2 tbsp caster sugar

ripe cherries, (not too sweet if you can track them down)

1 tbsp unsalted butter

2 tbsp granulated sugar

Pre-heat the oven to 200º C/350ºF.  Put flour and salt into a bowl. Make a well in the centre and slowly pour in the milk and eggs, whisking to make a smooth batter,  adding caster sugar.

Put the cherries in 24 cm ovenproof frying pan or similar size ovenproof dish,  with the granulated sugar and dot with butter.  Roast in the oven for about 10 minutes, then pour over the batter and bake for another 20 mins or until the batter has set.

Allow to stand for 20 mins and serve lukewarm.

Pudding of the Month: June 2011 Read More »